

The Design Team members of CSD have created fabulous projects to inspire you and to motivate you to get creative for the Fall season...
If you are coming from the Creative Scrapbooking Divas blog, then you are in the right track. If not, here is the Blog Hop Linked List, so you can visit all them:
CSD (main page where it starts): Creative Scrapbooking Divas
Lori's Blog
Luisa's Blog
Alecia's Blog
Ann's Blog
Sandy's Blog
Jamie's Blog
Susan's Blog
If you get lost, simply go to CSDivas (top of the list here) and the list of DT blogs will be in the main page there as well.
How you can be eligible to win the Grand Prize?
1) You need to become a member of CSDivas. If you are not yet a member, it's very easy to join. Simply go to this link, CSDivas and register. We will approve your application as fast as we can.
2) Create the projects shown on each DT blog and upload your entries in the Blog Hop Event. Here is the link: http://divascreativas.ning.com/forum/categories/online-crops-blog-hops/listForCategory. Please look for the DT member that you created the project for and upload to that post. Also, only 3 out of the 6 need to be completed. If you do finish and upload all 6 projects, you will be entered a second time for the Grand Prize. You will have until Tuesday, Sept. 28th at midnight, to complete and enter your creations.
3) Rake up all the words on each DT blog (they'll be on a bright colored leaf somewhere on their blog) and unscramble them to form what you believe is the correct phrase.
4) PM or email your unscrambled phrase to my or Luisa's email. My email is: lori_dianni@yahoo.com. Luisa's is: lmorgan1966@hotmail.com
If you have any questions, please ask any DT member!
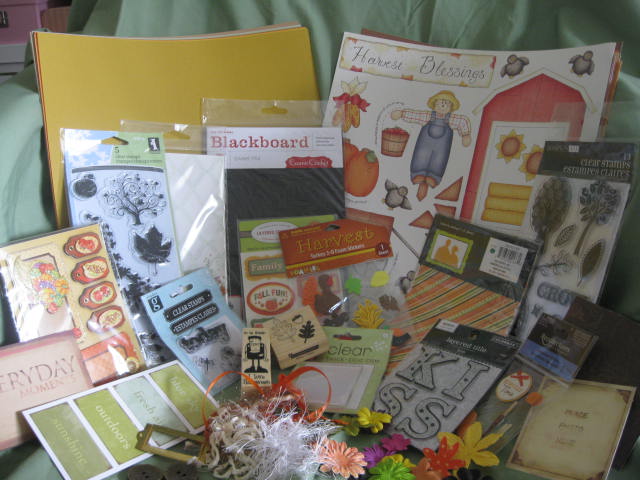
As a reminder, here are pictures of the Grand Prize better known as Blog Candy!!

As another incentive, I'm offering my own RAK for any member of CSD and a follower of my blog if they complete the project I've created and they leave me a link within their comment. I'll draw a winner on Wednesday via Random Generator and will post the winner on that day. Please join in on the fun!


Paper trimmer with a scoring blade
Patterned paper (heavy weight and double-sided)
Cardstock (1)
Scissors
Pen or Pencil
Paper Piercer
Brads (2)
Adhesive (strong)
*Note: If you don't have double-sided patterned paper, choose a patterned paper and a sheet of cardstock (separate from the other) and adhere together as I did below:


2. Cut and score your cardstock: Cut your solid cardstock into three strips, each measuring 4" x 12". Set one strip horizontally into the trimmer (the scoring blade should still be attached). Score the strip from the left edge at 5 1/2" and at 9 3/4". Score the 2nd and 3rd strips at 4 1/4" and at 8 1/2"


Take the third strip and attach it to the second strip in the same way. Fold the pages into an accordion (with the moutain and valley folds), making sure that the four middle pages measure no wider than 4 1/4". Note: The left-most page will be 3 1/2" wide.


Now it's time to embellish your book. When embellishing your album, keep in mind that using lots of thick embellishments will keep the book from closing correctly. Felt shapes, stickers, and thin metal or acrylic elements work well as long as they're not place in similar locations on each page. Keep in mind that the spine of the album is meant to hold only a stack of pages less than 1/2". Here is how I decorated my album:


Have Fun! Don't forget to upload your creations to CSD and on your blog as well if you want to be eligible for the Grand Prize and for my RAK. You must be a follower of my blog to win the RAK.
Happy Creating!


20 comments:
I am LOVING this little book! Great job, Lori. And great job on the organization of this fine hop!
Lori, I love your project!!! can't wait to start my own!
Adorable mini, Lori! Love the cover especially...
happy blog hopping!
alecia
Hi, I'm here for the Diva's blog hop. Very cool matchbook album. Can't wait to try it. thanks for the tutorial
Kathy W
Lori, I love your blog. Its so bright and welcoming. Your mini halloween book is just down right adorable!! Thanks for showing it off!!
love it...Im going to attempt to make this onr for sure.
Hi Lori, this beautiful mini album, I liked a lot, all the details are beautiful, the cat, the spider and the witch liked me thanks for the opportunity to participate, and I hope to get lucky, thank you very much!!
Your Halloween mini-book is adorable! I haven't been doing any crafting lately. Trying to get inspired and motivated to get started on something. Wishing you all the best. :) Tammy
cool project Lori!
- Theresa
Great to have measurements for this. I have made these before but without the double score 1/2 inch apart. Thanks so much for the details. I'm going to cut out the strips tonight! Lisa
WOW Lori I was looking for some Halloween Inspiration thanks so much you did a Great job on this! Keep up the fantastic work girl.
What a great Halloween inspiration!
Great project Lori and i will have a go at it but not sure if it will be finished on time.
Hugs xx
Pat
Love your mini....very creative.
That's just too cute!!! I don't have a scor board and really appreciate you showing how to scor on your paper trimmer( which is the same one I have!) Thanks Lori! :)
Wow Lori,
This mini album is awesome!
Very creative and fun to do...
Love your album, I have never done one before, but I am working on my first one now. Thanks for the tutorial.
Loaded mine in the Diva area!
Theresa
Hi there, I finished my book, I linked to you from my blog and I am now a follower. Love the "kick in the pants" for me. Otherwise, I would stay 3yrs behind alot longer. Thanks for the challenge. I love your book!! Happy bloghopping, Lisa
this is a really GREAT book.. thanks for the tutorial.
Post a Comment