Showing posts with label Paper Crafts. Show all posts

Monday, July 21, 2014

A New Commission

I've just been asked to create 2 more mini albums as well as several sticky notepad holders for a woman who had ordered some items from me a couple of years ago.   I thought I'd re-share the mini beach mini I created and the post it note holders I made for a craft fair.     Carol, if you're reading this, please let me know if what you're looking for is shown here.  Thank you.

The two Easel Note Pads are easy to make.  One has a mini calendar and the other a photo mat.  The covers fold down to cover the post it note.  When the notepad is gone, just replace it with another.  No need to throw away the holder.  I was selling these for $3.00 each and they sold like hot cakes.  These are the last two I had.  
The above shows the post it note/memo pad desk caddy selling for $8.00.   The caddy is made from 
a 5 x 7 acrylic frame.  A matching pen also went with the set.
An assortment of mini spiral notebooks and altered mini composition books.  


The above 4 photos show the index card notebooks I made using my Cinch machine to create the spiral binding.  These decorated index card pad sold for $3.00 each.  I sold out of all of them.

A Pink Desk Caddy  $8.00

And here are two videos of the Beach Mini I created for a 50th wedding anniversary:

Part One:


Part Two:


That's all I have to share at the moment.  This post was to give Carol an idea of what she was looking for but to also share some of my projects from the past.  Thanks for stopping by and looking.

Wednesday, April 2, 2014

An Altered Pringles (as in chips) Can!

I'm joining in on First Wednesday of the Month Party over at Cottage Paper Crafts, part of Etsy Cottage Style found here: Cottage Paper Crafts.   This party is dedicated to all of us who love to create with paper.

A month ago, I created an altered Pringles can for a swap over at Your Paper Pantry for the "Populart" group.  I loved making this for Emma.   So, this is perfect to share over at Cottage Paper Crafts.
I used paper from the Die Cuts With A View paper pack The Primrose Stack.  I used a border punch to cut a trim for the top and bottom of the can.   I also used flat faux pearls to hide the raw edge of the border, plus it dressed it up as well.  The script paper is from Recollections and over that is a scrap piece of paper I had on hand.  Other layers I used was a doily with a label that reads "Shabby" (Emma loves the shabby chic look), flowers, leaves, a vintage key from K&Co., an ephemera ticket, bling flourishes and a butterfly.

The above two photos show the cover.   I used a large crystal 'knob' along with an assortment of flowers, a crystal beaded stem along with a punched 3D butterfly that is actually 'flying above' the can.  I attached it to wire so it 'floats' in the air.   I also used a Tim Holtz adagio ticket.


These pictures show the back of the can.  I wanted to hide the seam of where the papers meet in the back so I punched this piece using the same punch as I did for the top and bottom of the can.  I inked the edges (along with the other papers) to give it that vintage look.   The scrap of paper which is the layer with the label "shabby" on it is the 'corset' for this can.   I saw this on line and had to use the idea.

Here are some close ups of the front showing the layers of flowers and the butterflies I added for a whimsical touch.  I hope my partner enjoys her can.    Oh, we had to fill it with lots of goodies, but I didn't take pictures of those items.

Thanks for stopping by!   I'll be sharing more creations later.

Wednesday, January 29, 2014

A Couple of Projects Just Completed

I finished off two swaps for Your Paper Pantry and they've been mailed.  I can't wait to see what I get back!

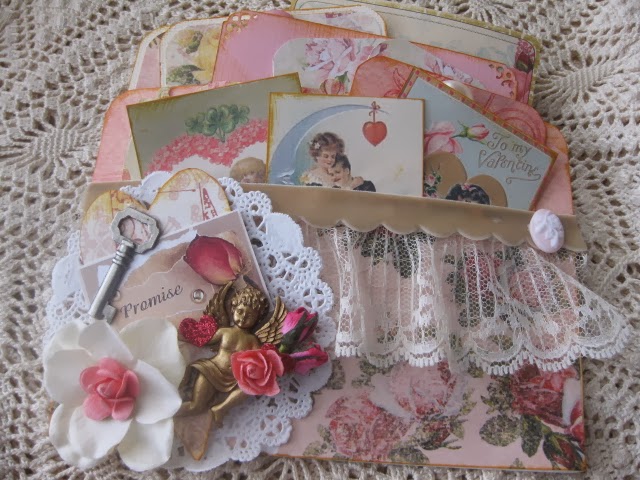
These pockets I made are for the "Pockets For Your Thoughts" swap and the theme was Vintage Valentine.  I made three nearly identical pockets--they do vary a bit---and I'll get three different ones back.   I'm thinking of making a very small mini out of them.  We'll see.   I also did a video of the pockets that can be found here:   http://www.youtube.com/watch?v=rf3E1e14iYA

Here are the pictures of the pockets:   They are jam-packed with tags and we also had to send in a small goody for the receipient.  I sent each one a small package of flowers from the dollar bin at Michael's.


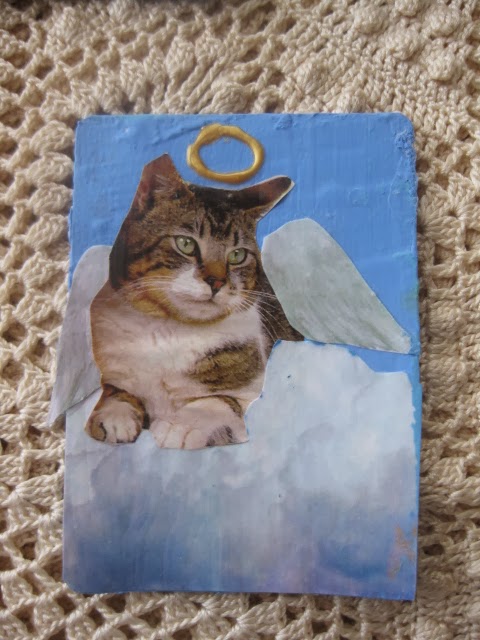
The other swap I was involved in was the "Artful Inspirations Deck".  For this swap we had to alter 14 playing cards and use a creative prompt for mixed media or for art journaling on one side.  My prompt was "alter an image from a magazine or book" and then I created a 'mini page' using that technique on the other side.

And here are all of them:

I'm now working on a travelogue, another set of cards for the Artful Inspiration Deck swap and will be making altered salt shakers for the February Romantic Cottage swap in the "For The Home" group at Your Paper Pantry.   I'll post those once I get them done.

Thanks for stopping by!

Sunday, September 2, 2012

I Made My First Coffee Filter Rose

I'm not sure how I like them.  They're alot better than the first one I made, but there's definitely room for improvement.  Remember the post found here:
 http://www.scrapmomsmusings.blogspot.com/2012/08/im-baaack.html#links .  Well, mine don't look that beautiful, but I'm still practicing!  

Here's what mine look like.  The white rose is before coloring it with watered down acrylic paint.

Below is the rose finished and colored with acrylic paint.  There is one problem though.
Once the flower was created (see the white one above), I dunked the flower in the paint solution and let it dry until it was damp---which took about 4 hours (maybe more).   I used an ordinary blow-dryer to hurry the drying process and it worked fine.  I did this because it's how the presenters in the other videos did it.    Once the rose was completely dry, and I was separating the petals, I noticed the splotches.  It's the acrylic paint that didn't dissolve in the water!  It's not toooo bad, but it's not perfect either.  Oh well---back to the drawing board!

Here are more photos:

 In my next experiment, I'm going to dye the coffee filters first, then cut out the petals.  I might try wetting the filters, then adding water color pencils to the edges and see what that does.  Hey, I have 11 months to get 5 bouquets done.  Do you think that'll be enough time?   My husband thinks I'm crazy to put this on my shoulders, but I love my daughter and I want her to have what she wants for flowers for her wedding.  

Wish me luck!
Lori

Tuesday, August 14, 2012

I'm Baaack!

Hello friends,

I'm finally posting after being away from my blog for two and a half weeks.  It seems as though I've been MIA for longer.  Anyway, alot has been going on.....working, counseling and helping my daughter with her wedding plans.   I've been spending my extra time looking for some tutorials on paper roses and found some great ones.  Here's one that I am nearly 100%  sure of using:

2119_031307_paperose
You'd think that this rose was real, wouldn't you, but in actuality it's made from coffee filters.  Yes, coffee filters!  I just love the look of this and can't wait to start making some.  

I'm also thinking of make these as well:
Pinned Image

My daughter doesn't want any sort of print on the flowers, but this gives me an idea of what to make.  I believe these are made from ordinary printing paper.   I'll post pictures of my flowers when they're done.

Other than researching flowers, I've been busy with appointments, working and just life in general.  I've also started working out to lose 30 pounds as well.  It hasn't been easy but I'm doing my best to stay on track. 

Well, there isn't much more to share, so until I post again, I wish you a wonderful day (or days ahead).